JavaBot Screenshots
Below are some screen captures of running BotRunnerApp with a few bot implementations.
Main Window
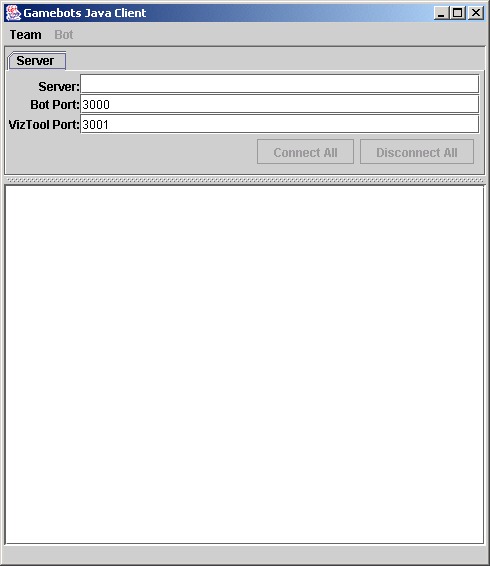
This is the BotRunnerApp that is the main interface for JavaBots (what
you get when you run JavaBots.jar). This tabbed interface handles connections
for multiple javabots using a single connection to an Unreal GameBots server.
Type in the name of the server in the Server field and then
chooseTeam->New Bot from the menu.
Starting a New Bot
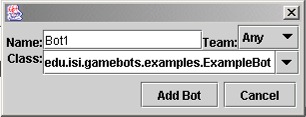
This is the dialog for adding JavaBots to the interface. Choose a name,
team and class for the JavaBot that you wish to start. You can currently
choose from three different types of bots (isi-examplebot, cmu-jbot, or tamu-humanbot).
Press Add Bot to add the bot to the interface. Once you have
all your bots added, connect them to the Unreal server by pressing the Connect
All button from the server tab.
ExampleBot Interface
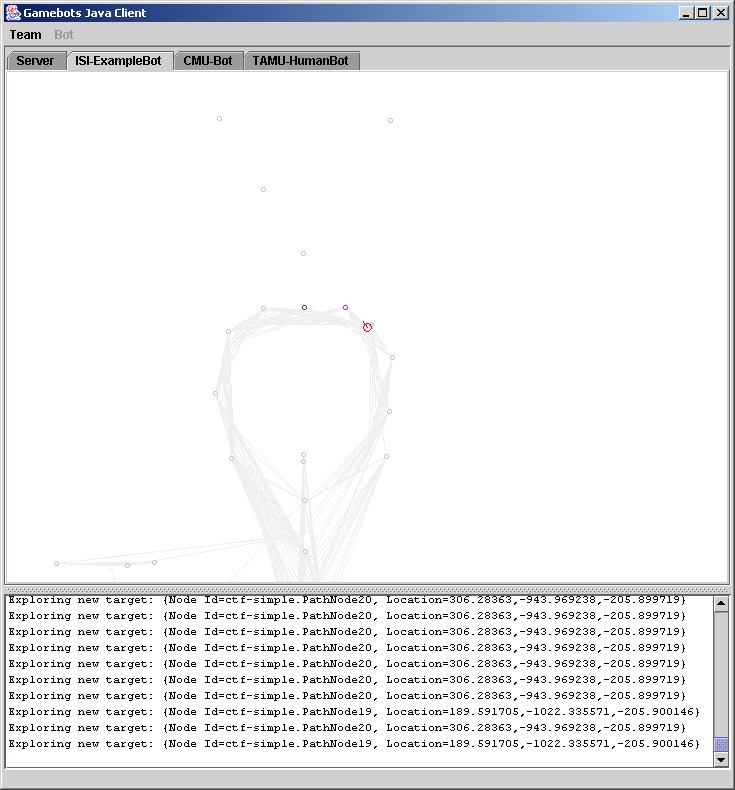
This is the interface for the ISI bot and the CMU bot looks the same, the top of the split pane shows the direction that the bot is currently facing and the map that the bot has already created for the level. We can watch the bot move and create links to nodes in the level in real time. Messages are logged in the bottom part of the panel.
HumanBot Interface
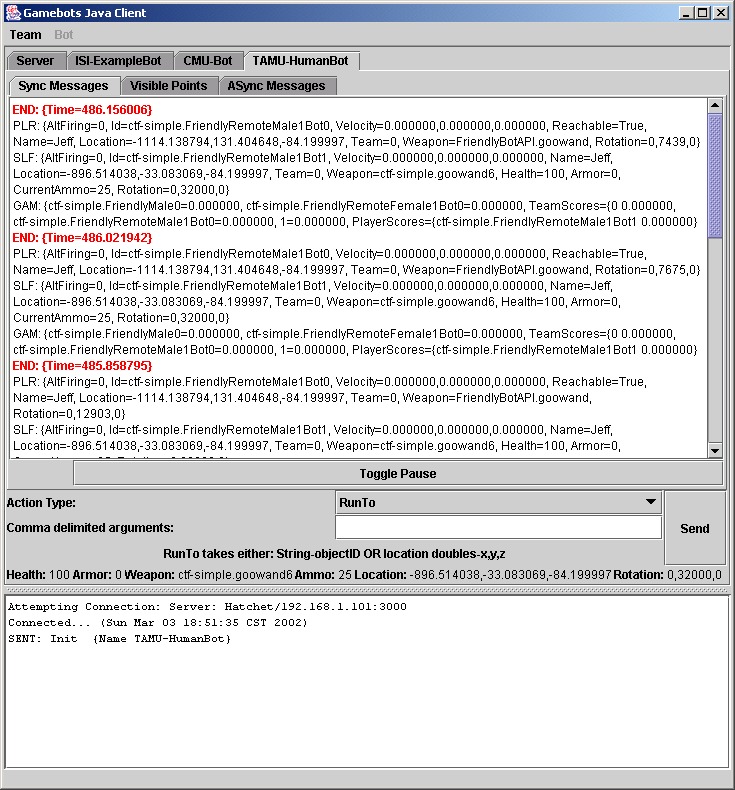
This is the interface of the HumanBot. This bot is not autonomous,
it is completely controlled by a human (thus the name). This is mainly to
get a feel for the GameBot protocol. We can view the messages from the server
and send actions. A list of all possible actions are available in the middle
panel. Users can select the action type to perform, enter the required arguments
and press the Send button for the bot to send its action to
the server. The bottom part of the split pane shows the actual message sent
to the server. In the shot above (the sync messages tab) we see all of the
sync messages that the agent gets (for a description of the difference between
sync and async messages, see Gamebots Network
API). The updates to the screen eat up a lot of resources, so you will
want to press the Toggle Pause button to suppress the updates
until you actually need them. Pressing Toggle Pause again resumes
screen updates.
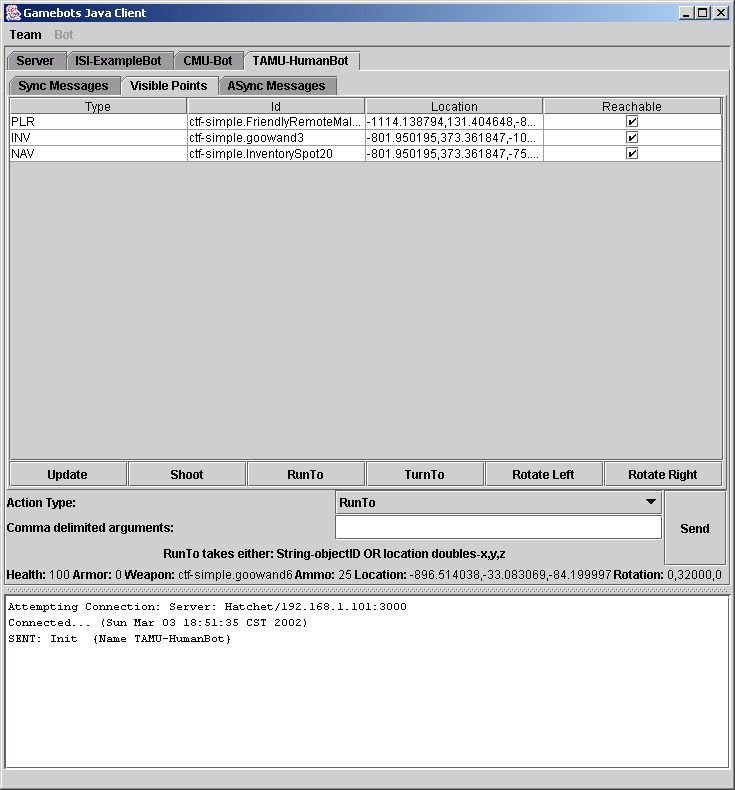
The next tab parses the sync messages that represent visible points to
the bot. You can select an item from the table by clicking on it and then
choose an action from the buttons below. Due to the rapid pace of updates
(10/sec.) the table is only updated when asked to. The update
button updates the table with the latest vision information for the
agent. Shoot, RunToand TurnTo do the appropriate
action with the selected item as the argument to the action. Rotate
Right and Rotate Left do not need
an argument but are included for convenience.
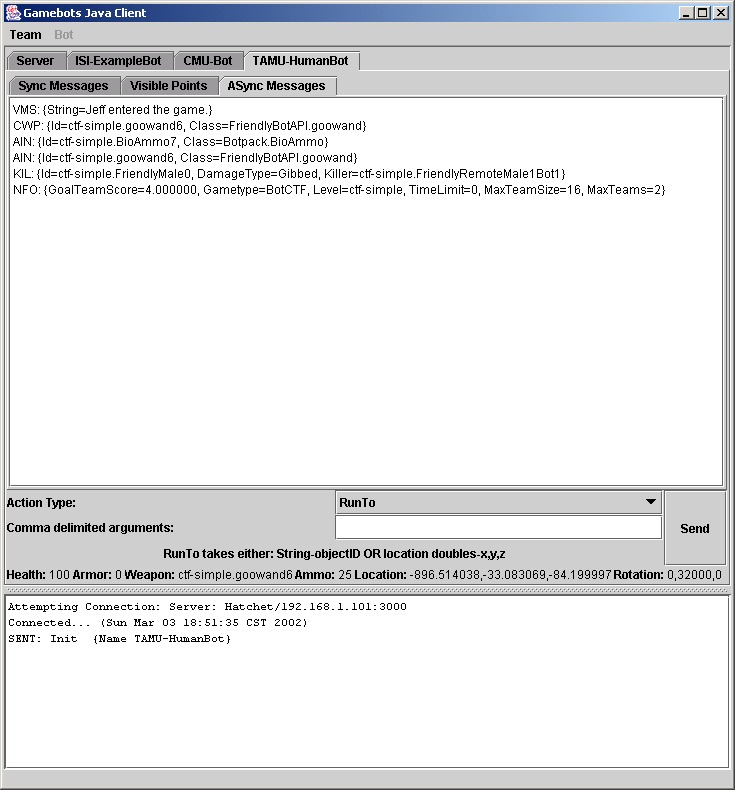
The Async messages tab shows the asynchronous messages sent to the bot. Separating sync from async messages is convenient because sometimes async messages get lost in the massive amounts of sync messages sent to the bot.